Last post on Flying Colors I left off with just the bottom pc. added to the window of this block. Now I've added the top pc. shown here. These are templates I and J. I cut strips 1 1/4" wide x WOF (width of fabric), then the angle cuts using two strips of fabrics right sides together (or wrong sides together) and one template to get the angles. With the fabrics laid together I got one of each template angle this way. I needed 168 lights and 168 mediums for the design I am doing.
Then the next side pc. was added. Templates E and G. This time I cut my strips 1 5/8" wide x WOF. The angles are cut at 45degrees but I used the same method as above and cut two strips of fabric using one template to get my angles. These pcs. go on the shorter side of the center (window) pc.
I cut 168 lights and 168 med. in the same colors to go around the center pc. so that the lights and med. would make sets. Press all E towards the center and all G out from the center.
My next template pcs were "B" cut as 1" wide x WOF, then cut at 5 7/8" lengths. These go on the longer side of the center pc. And I used two different prints for these. One was a batik green and the other a Ombre print that went from lighter yellow green to a darker green. I pressed these in the same direction as the E and G pcs. above.
Note: After doing the layout shown at the bottom of this post, I realized to add my little missing squares I needed to remove some of these strips going horizontally. So if your doing this project, like i am, you may want to do a layout of all pcs. BEFORE adding these, so you know which ones you can add to the pc. right now, and which will have to wait. If you use the templates printed out in the pattern, you will be ok. More on that at the bottom of this post.
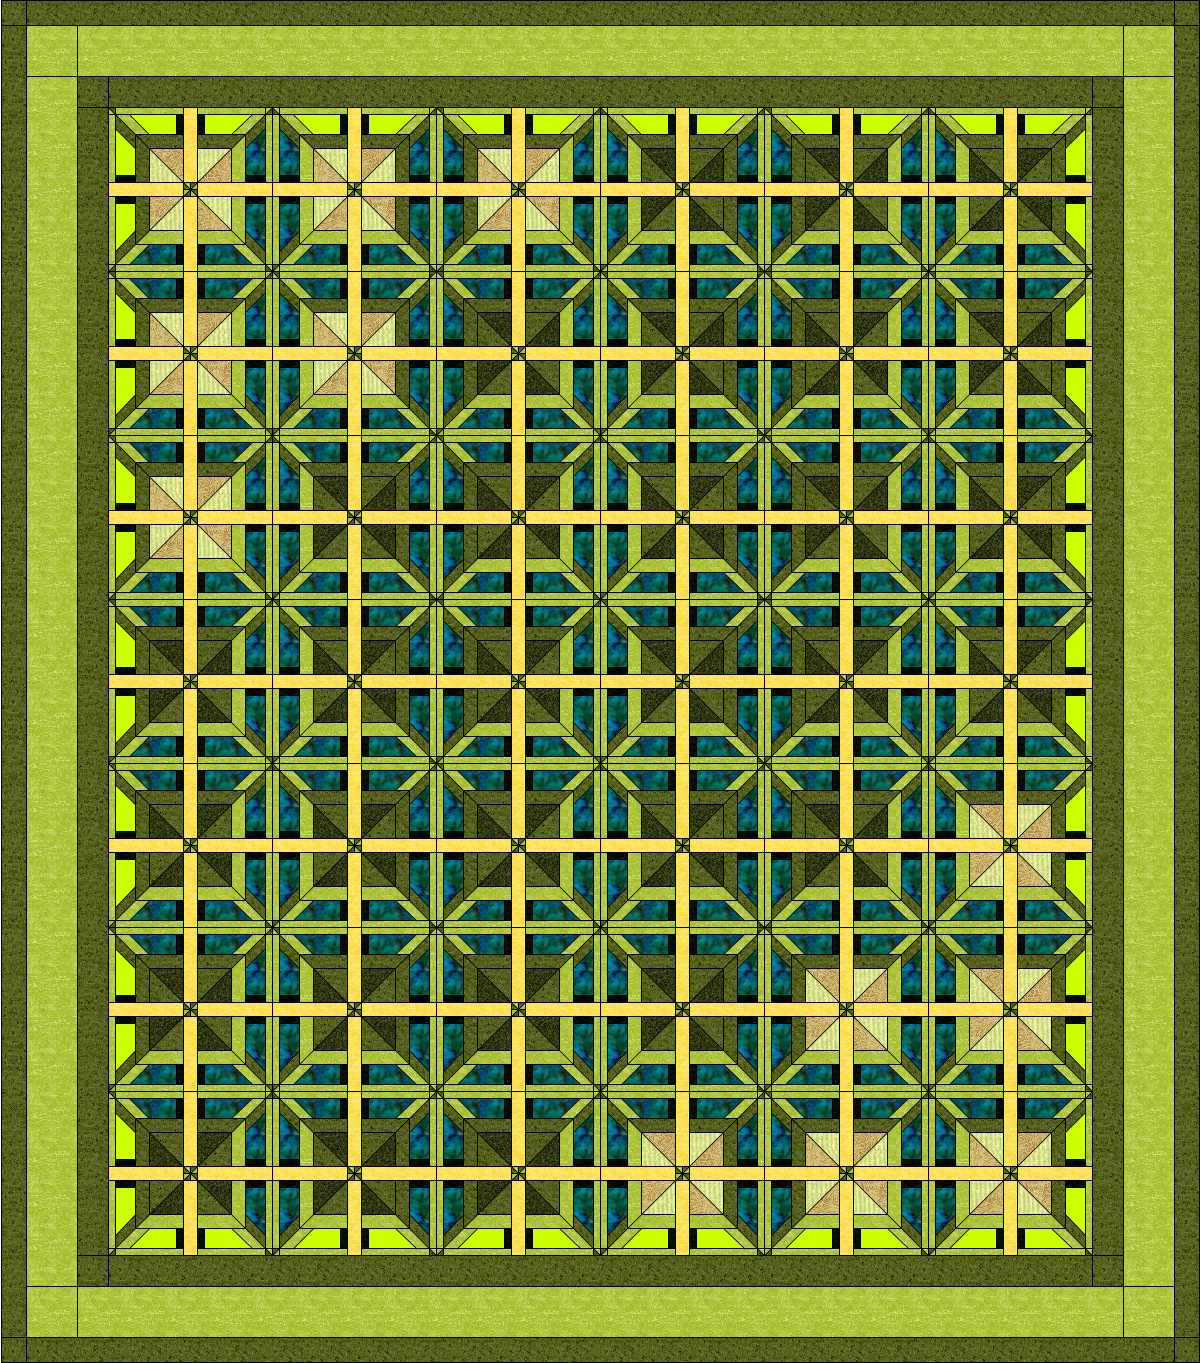
I did a quick layout of my pcs at this point. I had cut more then this, but not enough to do the whole quilt. I just wanted enough to give me a good idea when I laid them out - to see where I wanted the pattern to go.
Next I wanted to fill in the missing squares. So I chose two fabrics. One a yellow the other a blue/green like the Center pcs. that I had already used.
Next pc. "F" is to be cut into 3 1/2" squares, then cut once on the diagonal creating (HST) half square triangles.
And they are sewn to the tops of "E and G" like this.
Again, press the same direction as you did "E and G".
Here is how my layout is looking now. I just love the blue diamond now appearing in the center. I think I'm going to outline this whole center pc. of the quilt with a dark border. But at this point there are still little squares missing which I will have to address in the next step - before I start to sew these all together into rows.
Here is a closer view of the blocks. Since I didn't want to use the little hst to make up the little squares in the middle of these blocks, I had to remove the 1" strips going horizontally so that I could add squares to fit.
The original pattern templates call for a small hst to be cut and placed at the end of each of these groups. I find this very hard to do for my limited amount of skills in quilting. So I chose not to use them. But if you are working on this project and want to use these, they will give a whole different pattern design to the quilt depending on how you use your colors.
Here it is sewn on to give you a better view of how it looks. These now fill that little square area that is missing in mine (above), once these pcs. are all sewn together. (see next image)
Here is how it looks if you go with the little triangle method. I used a very lose stitch so that I could take it apart later. I just wanted to give everyone an idea on how it looks. I used two of the blue/green and the rest yellow. This is so that if I were to use this method, it would finish off the tip of the diamond in the center of this quilt. I took a quick photo of it below to show you how it would look.
But like I said. Because I have trouble with these little triangles going together. I had more in my attempt to use this method that didn't turn out then that did. Not sure what it is I do wrong, but I finally gave up and decided that I would use squares in most my center horizontal strips and only use these for the tips of my diamonds. Much less frustrating for me.
Now for an update on making my EQ files into pdf files so that those of you who want to follow along can. I so far, have not been able to do it. I may be able to print out the templates, then scan them into a jpg image, which than can be placed in a pdf file - but until I buy more printer ink, I haven't been able to try it. So if you have EQ6 or 7 or maybe it will work with the earlier versions, I'm not totally sure - but if you want this pattern, just leave a comment to this post and an email address and I can send it to you in EQ format. Meanwhile I keep trying to get this as a pdf file.
Have a great day.