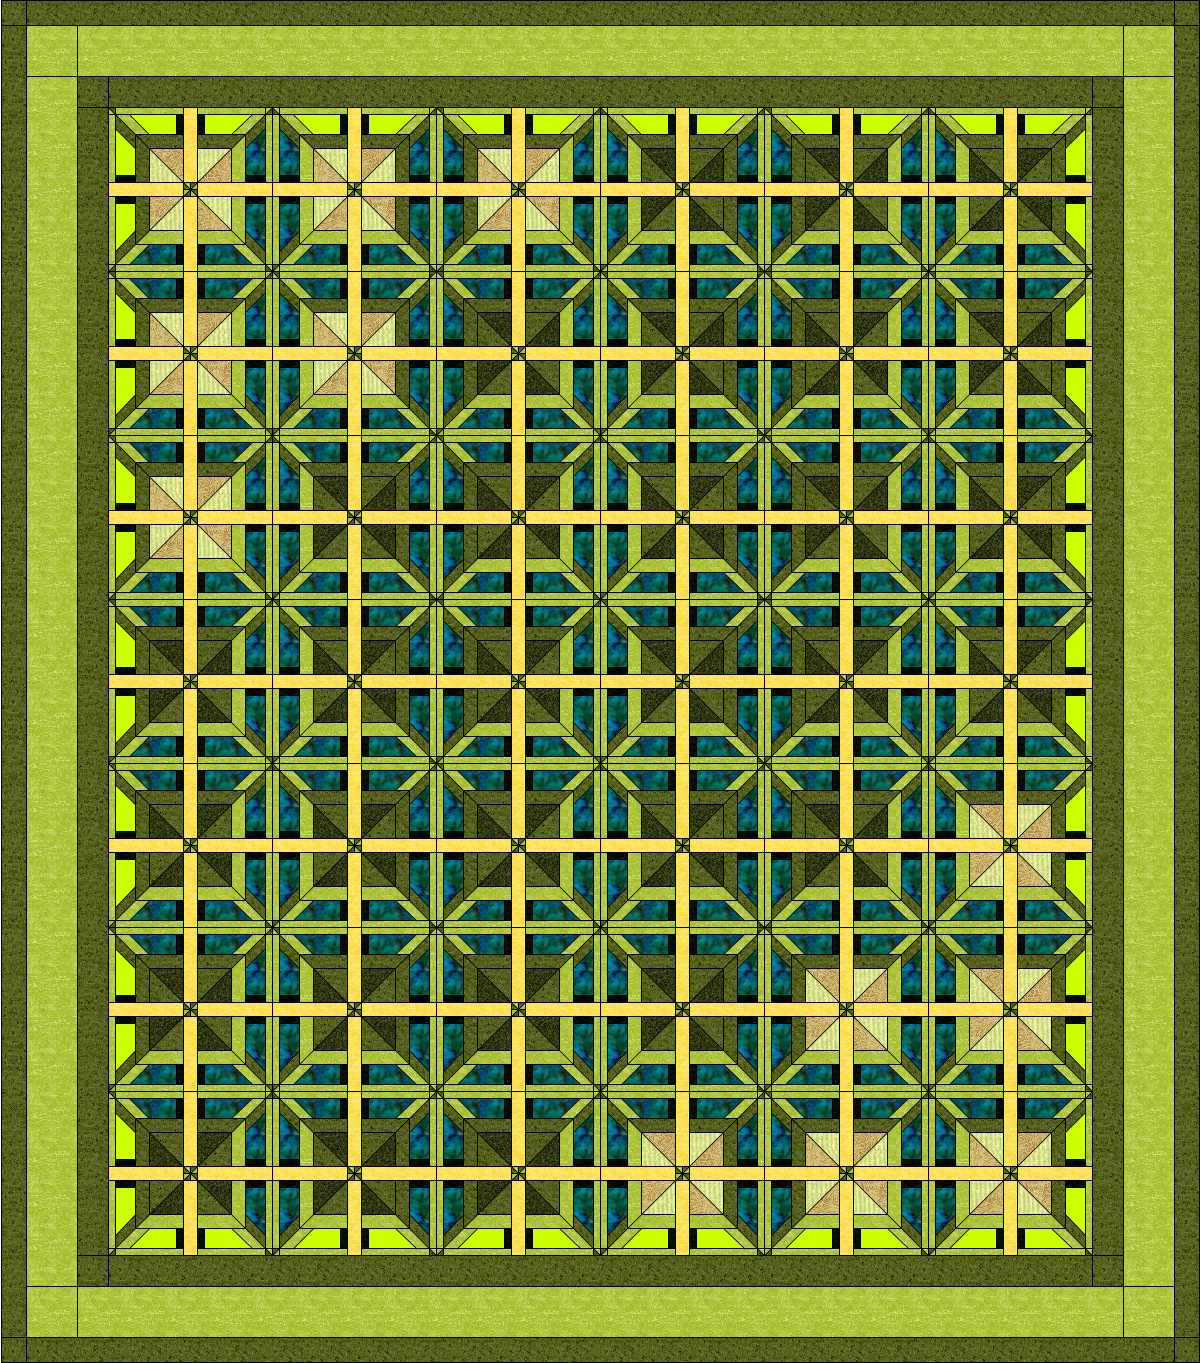
You can see several idea's that I did in EQ6 in my earlier post, but I found several other layouts and idea's like the one I posted here to the left. So if anyone wants to quilt along with me, you can be as creative as you want to be with the layout and color scheme. Just please do not share the pattern as it belongs to it's creator.
I would love it however, if you'd share your progress on your blog, along with a link back to mine, or (if you don't have a blog) send photo's and comments to me and I'll post them here for you.
To get started you need to decide on a basic color scheme. I'm doing it in mostly greens and some dark blues. That is because Darrick requested these colors. But like I said before, you can go with a huge array of color schemes or totally scrappy colors - the results , depending on your layout, will all be wonderful.
1. I cut 9 strips of each light and medium greens by wof (width of fabric)- 18 strips total.
Then cut the strips at 2 1/8" rectangles. For the whole quilt you will need 336 of these little guys.
2. Cut strips 2 1/8" wide by wof.
You will need to cut 168 of template H and 168 of template K. These are the windows of the airplane. : )
Or you can do like I did, and just fold your fabric wrong sides together and cut your strips, then using one template, you will get both angles out of each cut .
Next I sewed my rectangles to the lower edge of the H and K templates. Here is mine.

 I will try to do a pdf file that can be uploaded of the templates, but until them if you want to do this project just comment to this post and make sure your email is included and I can send it to you.
 Oh before I forget - I didn't cut all my pcs. out yet. I only cut out all my windows and the colors around most my windows, as I knew that these were the colors I wanted to use throughout this quilt. But if your using several colors or you don't know where your layout will go yet, you may want to just do enough for four or six blocks to start.
Left is the image of one block. It is made up of four squares and some sashing. You can rotate each square, remove the center sashing, use a square in the center instead of a pinwheel, etc. Every change makes a totally different look to this quilt. So you will want to play with a few of these square on your design board, "BEFORE" you connect them to make one block.
Have a great day. : )
Cool pattern! Blocks look a little like a Greek
ReplyDeletecross. I'd like the pattern if you can get it into a PDF. My email is peanut13@bellsouth.net.
Thanks
Sherry in NC